The Benefits of Professional Driveway Sealing
Your driveway is more than just a path to your garage; it’s an essential part of your home’s curb appeal…

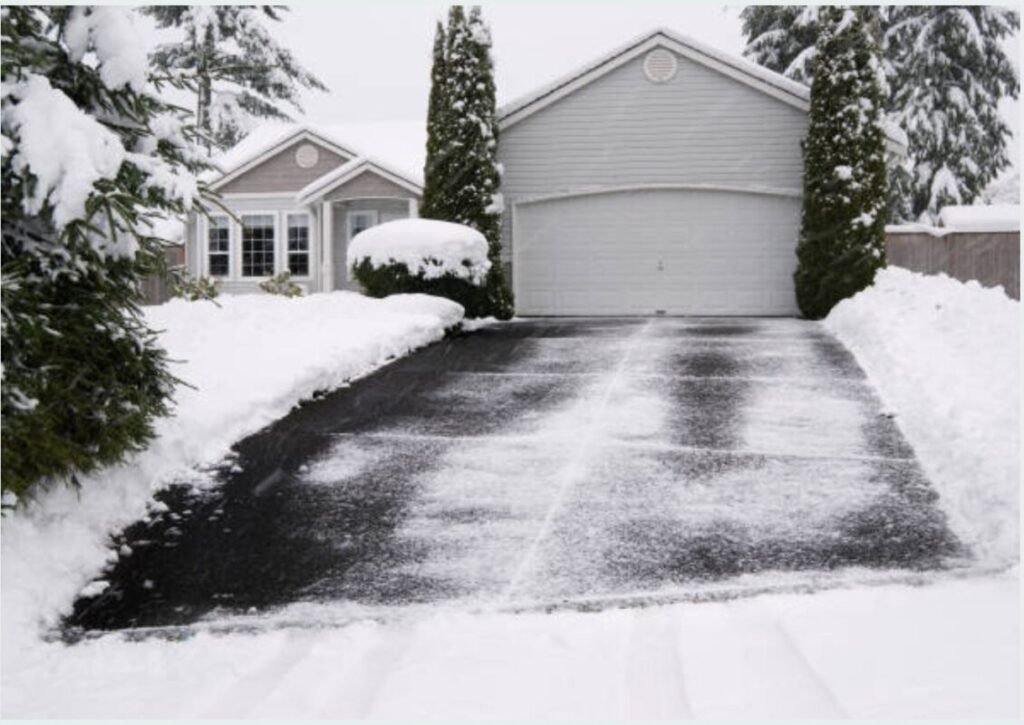
Interlock driveways are admired for their beauty and durability, but even the best driveways can experience wear and tear. Whether it’s due to weather conditions, heavy traffic, or simply the passage of time, maintaining your interlock driveway is essential. At No Limit Sealing, we offer expert interlock repair services throughout the Greater Toronto Area, including Toronto, Richmond Hill, Markham, Vaughan, Scarborough, Aurora, Newmarket, and Brampton. Here’s a detailed, step-by-step guide to interlock repair sprinkled with a dash of humour and a touch of science.
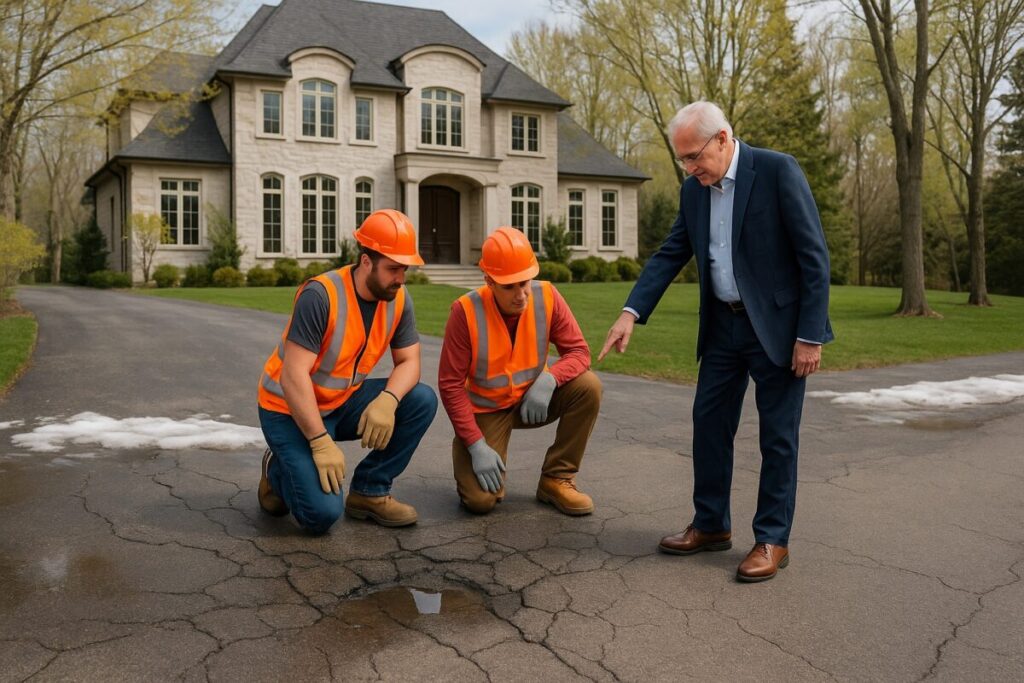
Before diving into repairs, walk around your driveway to identify the areas that need attention. Look for loose or sunken pavers, gaps, and any signs of weeds. It’s like playing detective, but instead of a magnifying glass, you’ve got a keen eye for detail. If only all mysteries were this easy to solve!
Using a flat-head screwdriver or a specialized paver extraction tool, carefully lift and remove the affected pavers. Be sure to keep them intact, as you’ll be reusing them. It’s like pulling out a jigsaw puzzle piece—gentle but precise.
Once the pavers are removed, check the base layer for any unevenness. Add or remove sand as necessary to create a smooth, level surface. Compact the sand using a hand tamper or a mechanical compactor. This step is crucial for preventing future shifting and ensuring a stable foundation. It’s like fluffing your pillow before sleep—preparing the perfect base for a good night’s rest.
Carefully place the pavers back into their original positions, ensuring they fit snugly together. If any pavers are damaged, replace them with new ones that match the existing pattern. It’s a bit like solving a Rubik’s Cube—getting all the pieces in the right place can be immensely satisfying.
Once the pavers are in place, sweep polymeric sand or jointing sand into the gaps between them. This sand will harden when wet, locking the pavers in place and preventing weeds from growing. Think of it as the grout in your tile floor—keeping everything secure and tidy.
Using a plate compactor, go over the entire repaired area to ensure the pavers are firmly set in place. This step helps to interlock the pavers and sand, providing a stable and even surface. It’s like the final roll of a pie crust—making sure everything is perfectly pressed and ready to go.
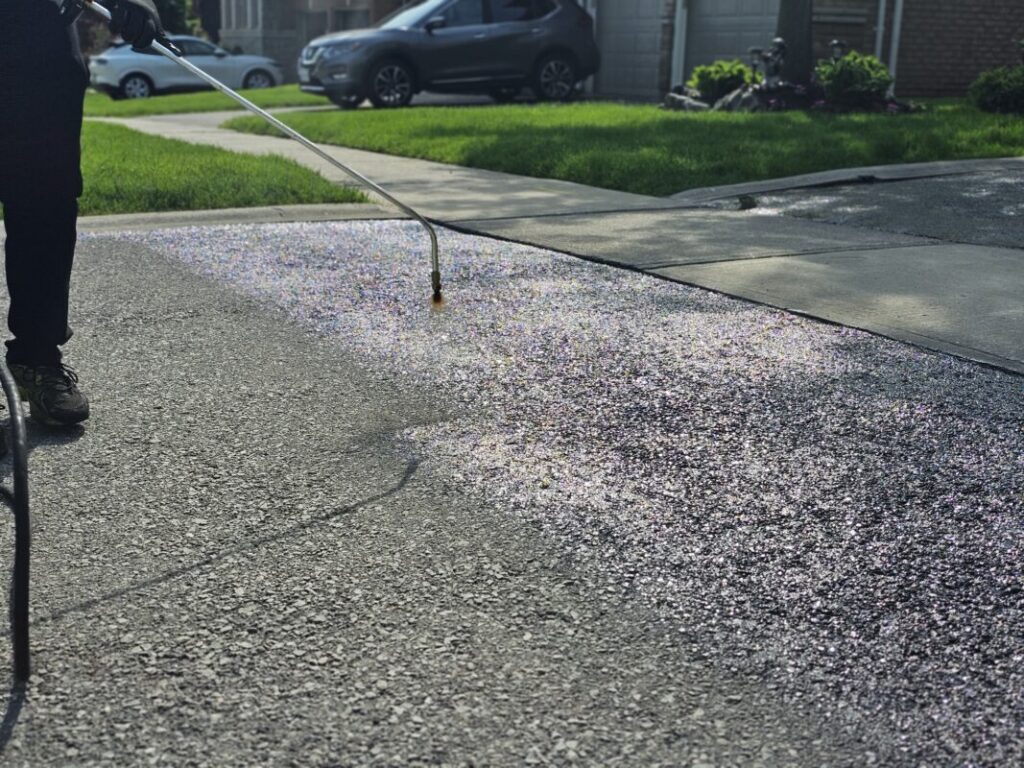
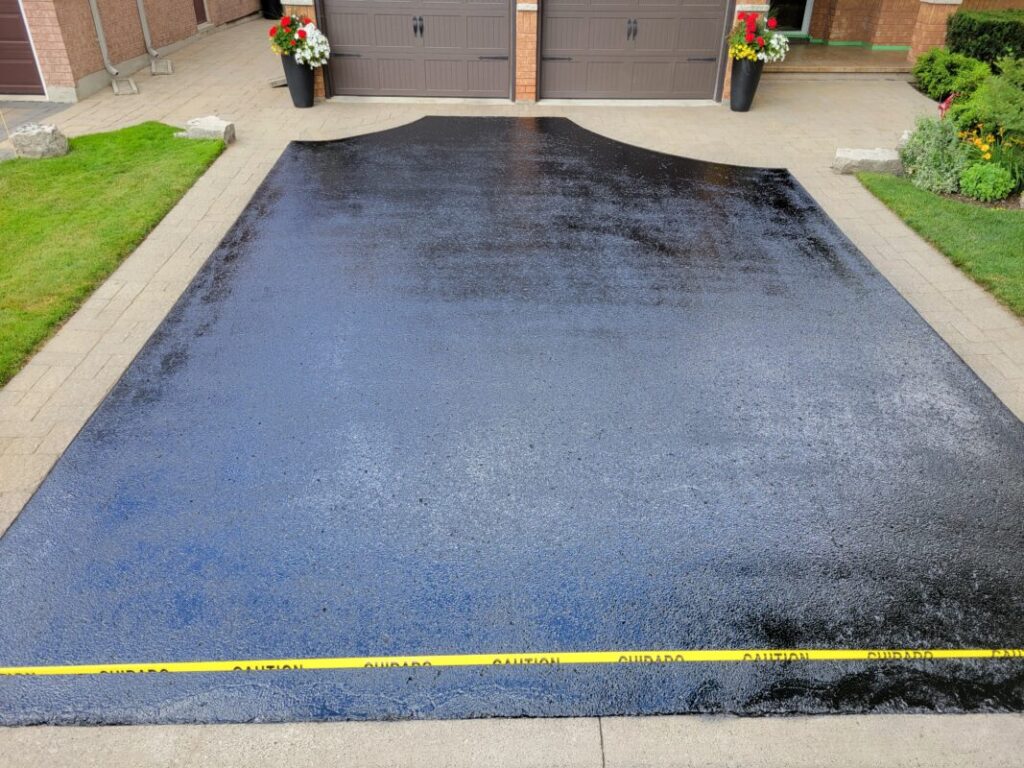
For added protection, consider sealing the repaired area. Sealing helps to enhance the color of the pavers, protect against stains, and prevent water infiltration. At No Limit Sealing, we offer professional sealing services to keep your driveway looking its best. Think of it as the finishing touch—like adding a glossy top coat to your manicure.
Interlock repair may seem daunting, but with the right approach and professional help from No Limit Sealing, it can be a straightforward process. Serving the Greater Toronto Area, we provide expert interlock repair services to keep your driveway in top condition. Contact us today to schedule a repair service and enjoy the beauty and durability of a perfectly maintained interlock driveway.
After all, a well-maintained driveway is a gateway to a beautiful home—because first impressions count, even for driveways.
To Learn More About Our Driveway Maintenance Services – Click Here
To Learn More About Our Interlock Maintenance Services – Click Here
To Learn More About Our Pressure Washing Services – Click Here

For any inquiries, service requests, or to schedule a consultation, please don’t hesitate to reach out to us. Our dedicated team is ready to provide you with expert advice, detailed estimates, and answers to all your questions. You can contact us through our online form, email, or by calling our customer service line. We’re committed to responding promptly and efficiently, ensuring your experience with us is smooth and satisfactory. Thank you for considering our services—we look forward to hearing from you and assisting with your project needs in the Greater Toronto Area.